Try This: Make a Seed Starter
Ready to try growing your own food? You can turn disposable, single-use containers into seed-starting vessels! In this #SMOatHome we’ll explore what plants need to grow, repurpose containers that would otherwise go to waste, and save some money, too! For young scientists this activity helps connect to where food comes from.
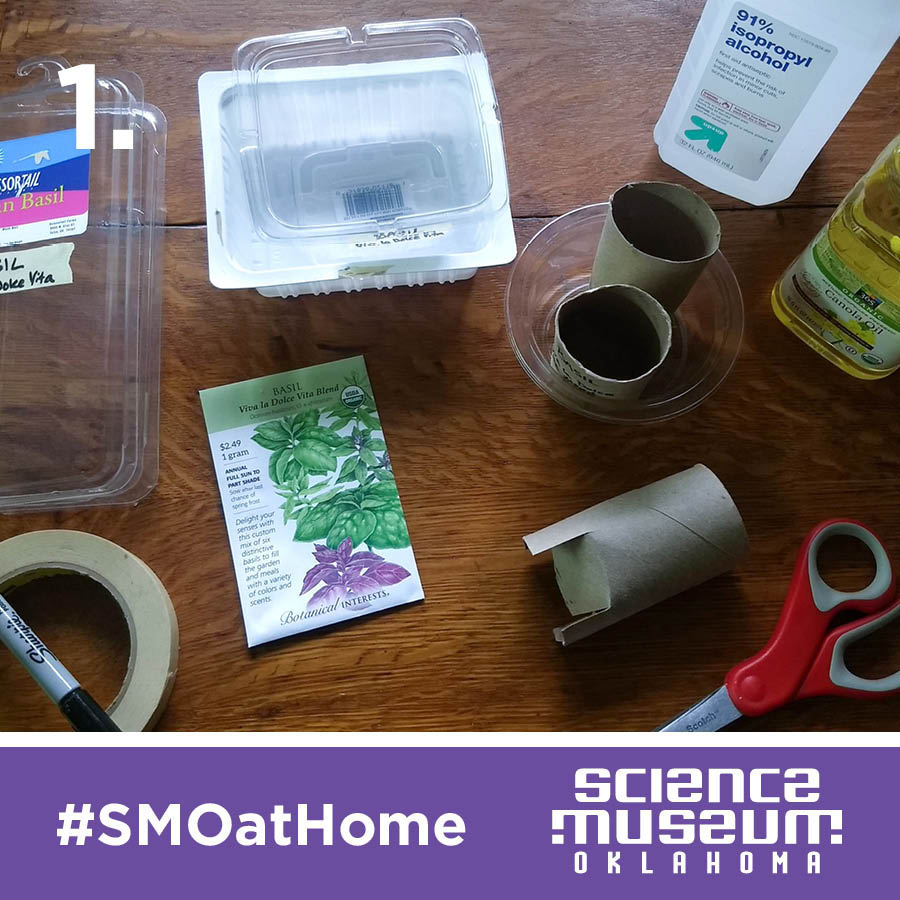
Here’s what you need:
- Clean and dry plastic containers; containers that work really well include cherry tomato containers, “clamshell” containers, or containers that come with a clear lid. Any size will do, but ideally at least 1.5-2” deep.
- Or: Cardboard egg cartons, toilet paper tubes, or paper towel tubes
- A wide, shallow container (upcycled or not), large enough for your starters to sit in as a watering saucer
- Potting soil (ideally a DIY or purchased seed-starting mix)
- Seeds of your choice
- A spray bottle of water
- Masking or painter’s tape
- Permanent marker
- Optional: Something to make drainage holes with (drill, x-acto or box knife, etc.)
- Optional: craft sticks or plant labeling stakes
- Optional: plastic bags or plastic bottles cut in half to make DIY “greenhouses”
- Optional: vegetable oil and isopropyl alcohol to remove labels
- Optional: a journal to record what you planted, dates of sowing and germination, how long until you transplanted or harvested your food, and anything else you like!
Let’s get started!
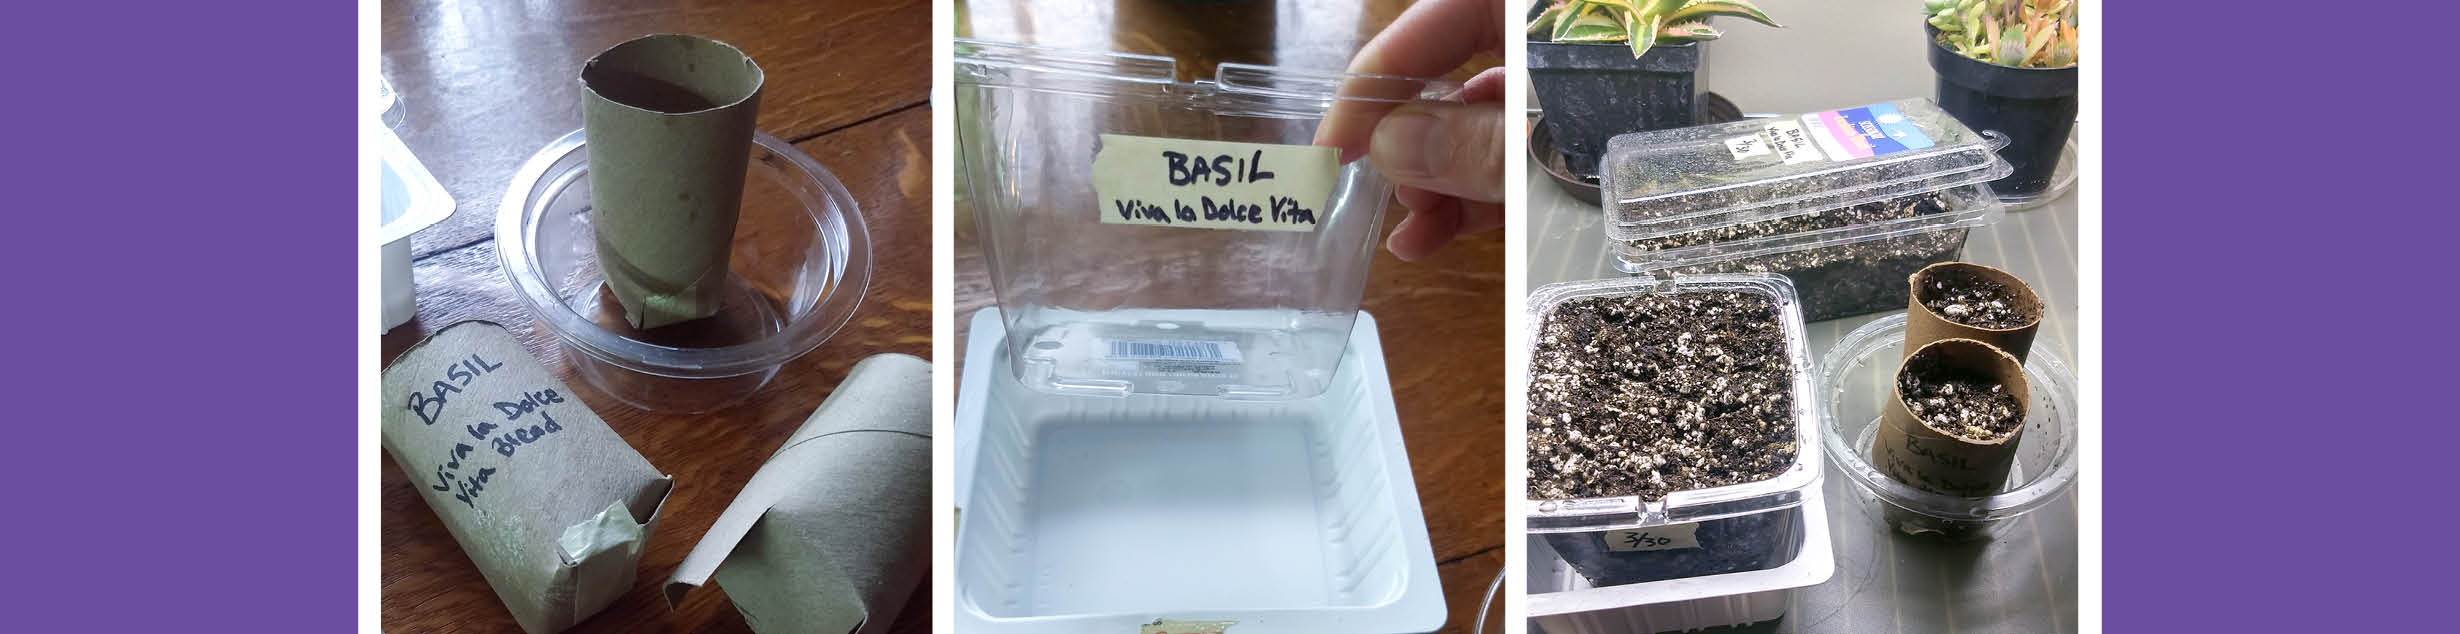
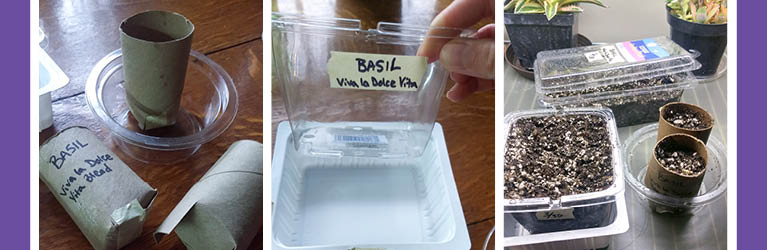
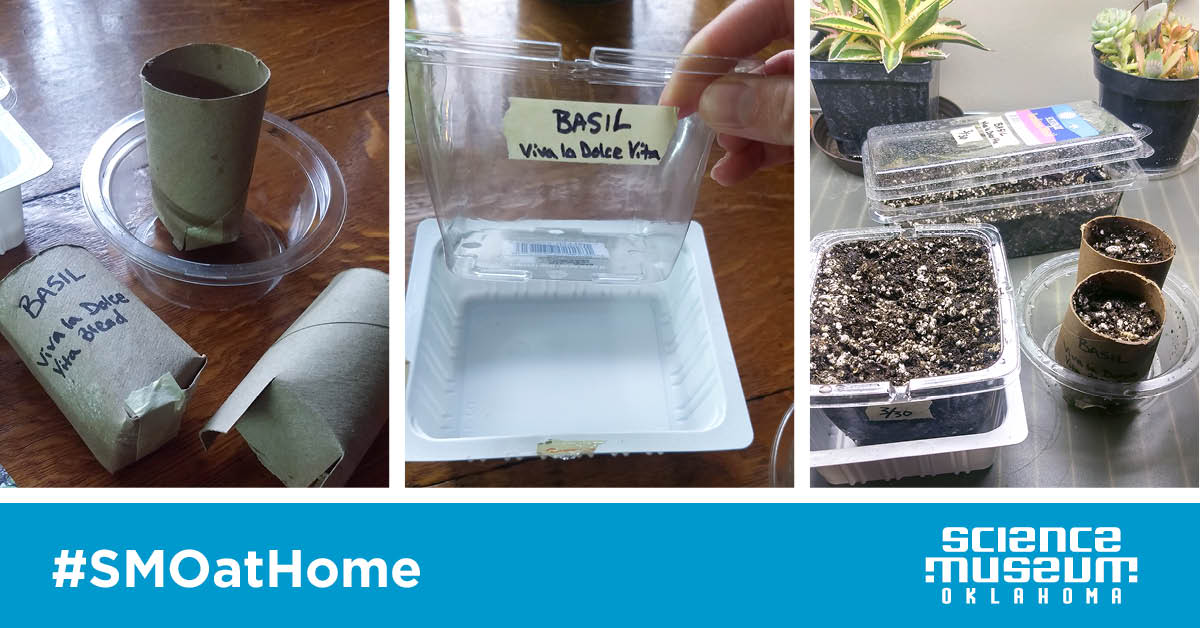
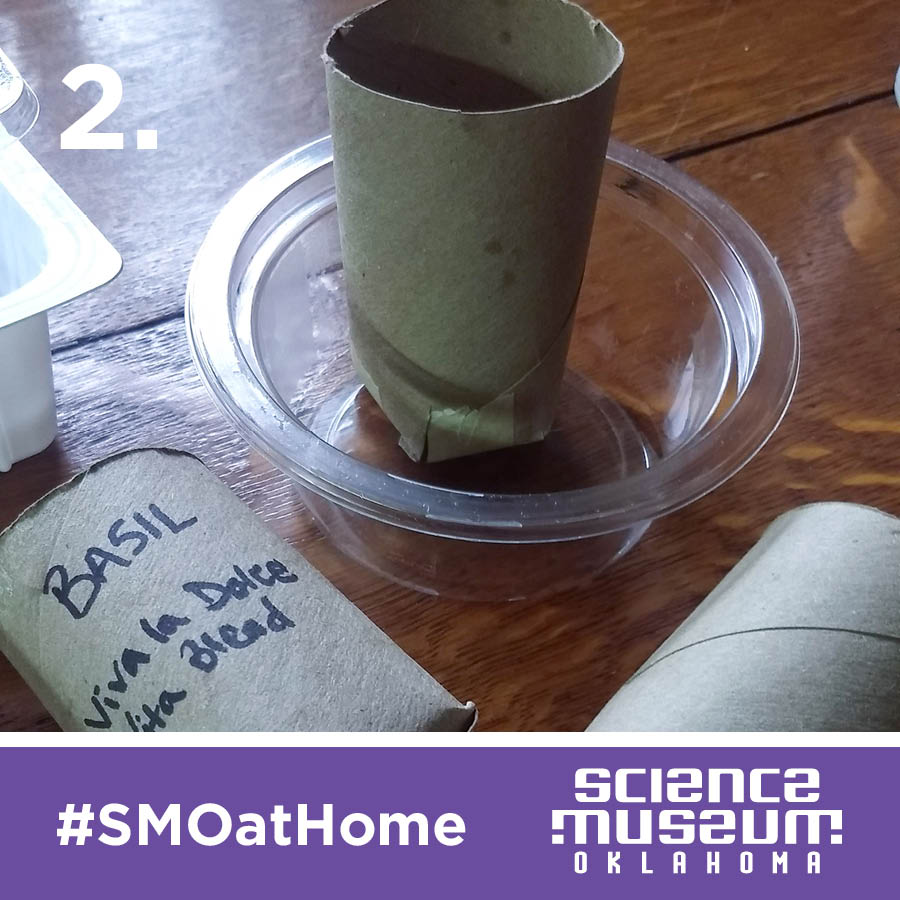
First, get your containers ready.
If they’re plastic, be sure to wash them well with warm, soapy water and allow them to dry. If possible, add several drainage holes to the bottom of your container. Bigger containers will require more drainage holes. This will help prevent your soil from staying too soggy. Although seeds need moisture to germinate, too much water can suffocate your young plants.
It’s not necessary to remove labels, but if you’d like to, vegetable oil can help get the sticky residue off. Wiping down the containers with isopropyl alcohol can remove the remaining oil.
If you’re using cardboard egg cartons, you may only need to remove the lid (you can plant in that portion too, just add drainage holes!)
For cardboard tubes, cut them into sections no shorter than 2”. Cut notches in one end that can be folded inward to form a base. If necessary, secure the flaps with tape.
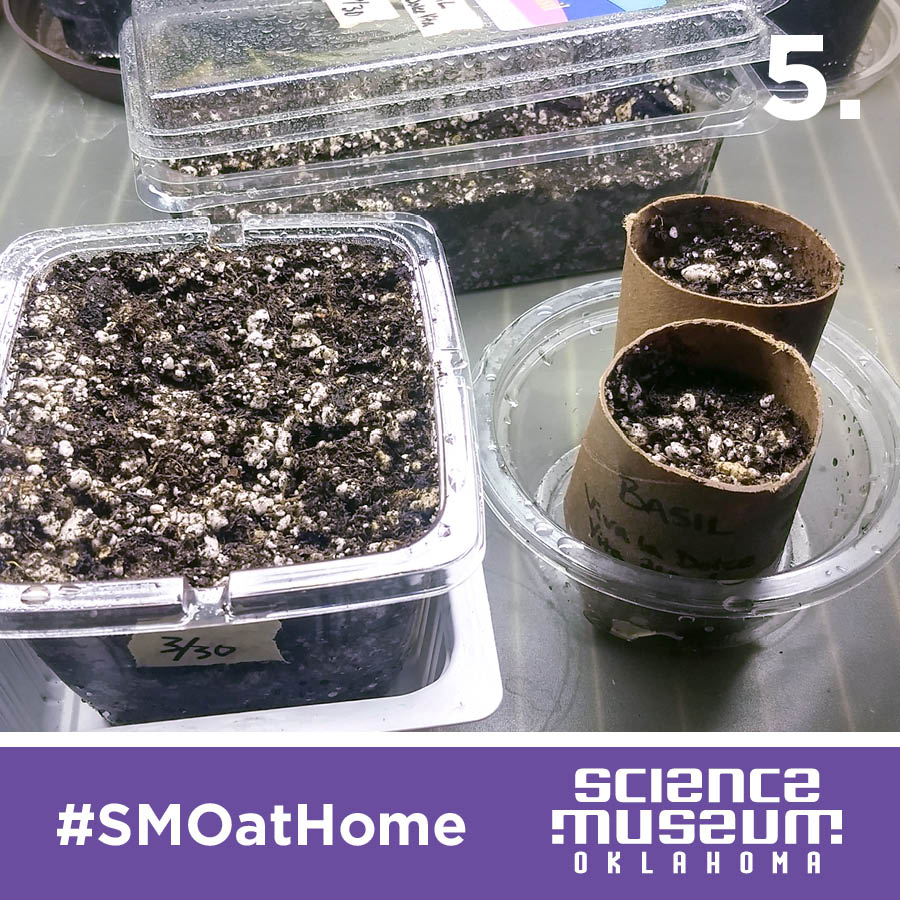
Decide which seeds you will be sowing in each container, and label the containers accordingly. This is much easier to do before you fill your containers with soil! Label directly with permanent marker, make a masking tape label, or make labeling stakes using craft sticks or other household materials. It is useful to write the date you sowed the seeds as well.
Does it matter what I plant in which container? Answer: Sort of!
Sow lettuces in wide containers like clamshell containers and plate-size takeout containers. Lettuces and other greens (like herbs) can be harvested by a “cut and come again” method which will allow you to take just what you need for a meal while allowing the rest of the greens to grow. Harvest the outer leaves of lettuces starting when they are 3-4” tall, allowing the inner leaves to continue growing.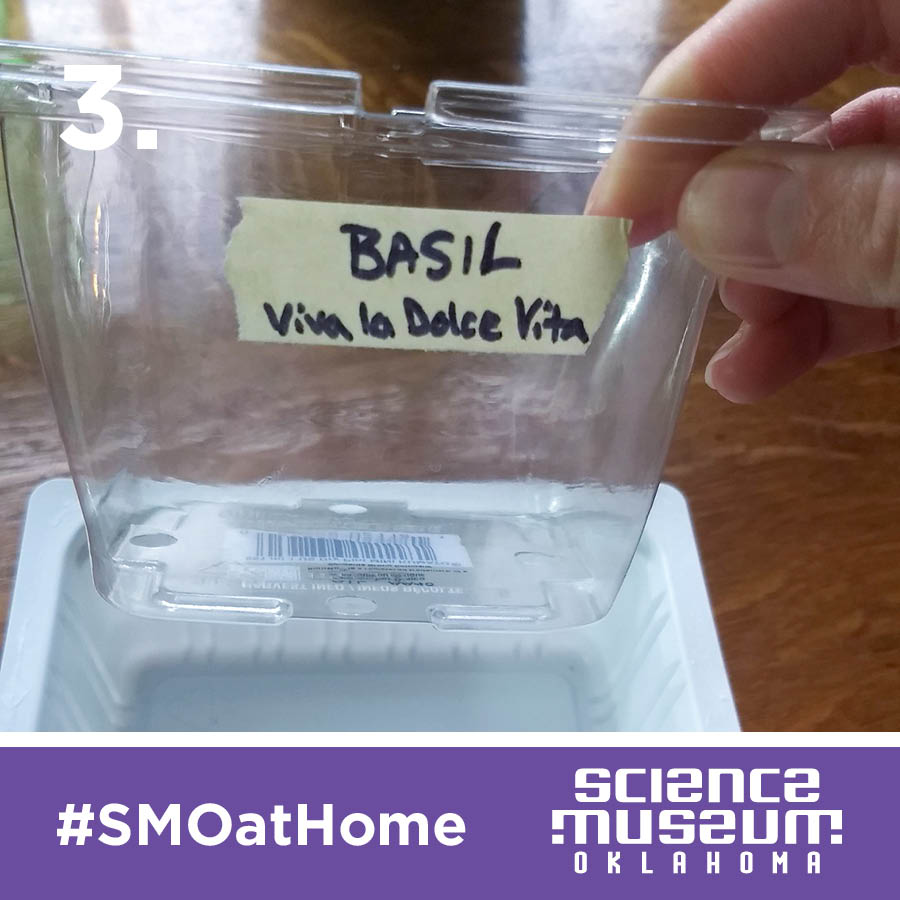
Sow herbs and flowers like marigolds in smaller containers (like for yogurt, applesauce, or dips and spreads). You can transplant into larger containers or a garden bed as your plants grow, or keep them small.
Use the smallest containers, cardboard tubes, and cardboard egg cartons for starting seeds that you plan to transplant not long after they have established. Cardboard containers can actually be planted directly in the ground as the cardboard will biodegrade, although you can certainly remove the plants from these containers as well.
Now it’s time to get our hands dirty!
Fill your containers almost to the top with soil. All plants, but especially seeds, require “pore space” — empty spaces in the soil for air and water. Be sure that you add the soil in without packing it down.
Water the soil thoroughly so that the whole volume is saturated and water comes out the bottom of your containers. This can be done with a watering can, a hose, or a kitchen sink spray nozzle. Allow the excess water to run away before proceeding to the next step. You can add seeds before or after watering the soil but watering the soil first will allow you to have greater control over your seed placement and prevents smaller seeds from being washed away.
You’ll notice that after watering, the soil line is lower than before. If you feel that the soil level is now too far below the rim of the container (making it difficult to plant in cardboard tubes, for example), feel free to add more soil and water it in again.
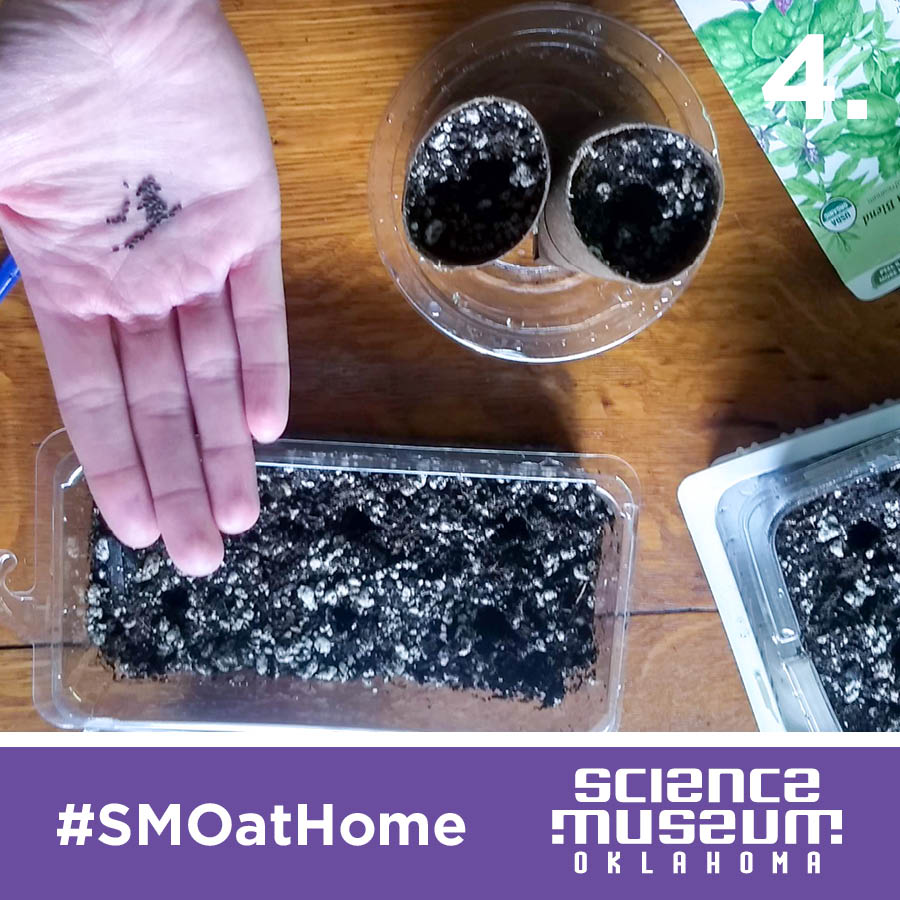
Ok, now let’s add our seeds!
Read your seed packets, which contain useful information such as planting depth and germination time. If your seeds require special steps for germination such as soaking or cold stratification (a cold period to break seed dormancy), ensure that you complete that treatment prior to planting.
Use your finger or a pencil to make holes for seeding in to the appropriate depth for your seeds. If you’re planting in cardboard tubes or egg cartons, just make one hole and plant 1-3 seeds per “cell.” If you’re planting in a larger container, you may be able to fit several depressions or even make rows for your seeds.
Open the first seed packet and pour a few seeds into your palm. Add seeds to the holes you created. As a general rule, plant only one seed per hole for larger seeds. If the seeds are so small that it is difficult to pick up just one at a time, it’s ok to drop several into each hole.

Gently cover the seeds back up with the soil from your container.Keep in mind that unless you are seeding lots of containers, it is unlikely that you will use the whole seed packet. Save the rest for another time!
Seeds need moisture and humidity to successfully germinate, so it’s a good idea to create a “greenhouse” environment for your seeds. If you have planted in a container with a clear lid, you’ve got this step covered!
If your container doesn’t have a lid, you can make a “greenhouse” by placing a clear plastic bottle (cut in half), plastic bag, or plastic wrap over your seed container(s). Mist the inside of your “dome” with water from a spray bottle and place the cover over your seed-starters.
Whichever method you choose, leaving space for air circulation can help prevent mold growth. This can be achieved by not closing the lid completely or leaving a gap between your bag and the container(s) it is covering.
Let’s grow!

Place your seed-starters in a warm location. Some seeds actually don’t require light to sprout, although all seedlings will need it as soon as they emerge — a bright windowsill or under a grow light is best.
Keep the soil consistently moist – but not wet – while seeds are germinating. If possible, water your containers from the bottom by adding water to the container or basin that the seed starters are placed in. The water will be pulled up through the soil by a process called capillary action. If you can’t water from the bottom, try to water with a diffuse sprayer. Keep the soil surface moist by misting it thoroughly with the spray bottle.
Once your seeds sprout, remove your greenhouse dome! At this point the growing plants require light more than humidity. Too much humidity or too wet of soil can allow pathogens to thrive which cause “damping off” - quickly killing your seedlings.
If your seedlings appear to be stretching or leaning severely towards a light source, do whatever you can to provide them with brighter, more even light. The first leaves to appear are the “seed leaves” known as cotyledons. The second set of leaves are the plant’s first “true leaves.”
Transplant time! Or is it?
As your plants develop, you’ll need to decide whether to keep them where they are or transplant them into your garden. For larger starter containers of herbs or greens, you may be able to keep your plants growing and even harvest directly from the container you planted in.
For plants which need to grow much larger in order to flower and fruit (or plants you simply want to be bigger), move them into a larger space after they have developed their first true leaves. Hopefully your plant will have a strong root system at this point and will thrive with more space! Allow the plant to dry out slightly, as trying to move it when the soil is very moist will be difficult and can damage the root system.
Transplant Tips
Prepare the transplant space to receive the new plant. Most vegetables and fruits need to be transplanted at the soil surface, so make your planting hole accordingly so that you do not bury your plant too deep.
Squeeze the sides of the container your plant is in all the way around to loosen the soil and roots. Then, grabbing your plant by the base of the stem near the soil, carefully pull it out of its container. Ideally, the whole ball of soil will come out at once leaving your plant’s roots intact. Carefully situate your plant’s root ball in the hole that you made and fill in the soil around it.
For plants in cardboard containers, you can simply plant the whole container (remove any tape and labels first) directly in the ground, raised bed, or larger pot. The container will biodegrade eventually. Make sure to water your plant thoroughly after transplanting it. And most importantly, enjoy what you grow!