Paper Quilting
March 21, 2020
Happy National Quilting Day! A quilt isn’t just a layer of batting or stuffing between two layers of pieced together fabric — a quilt is one of the most resourceful, eye-catching, problem-solving, and geometry-using forms of tinkering there is.
Today we’re celebrating the quilt and its call to be innovative re-users with a paper “quilting” project. Our museum educator Kirsten has all the steps for you:
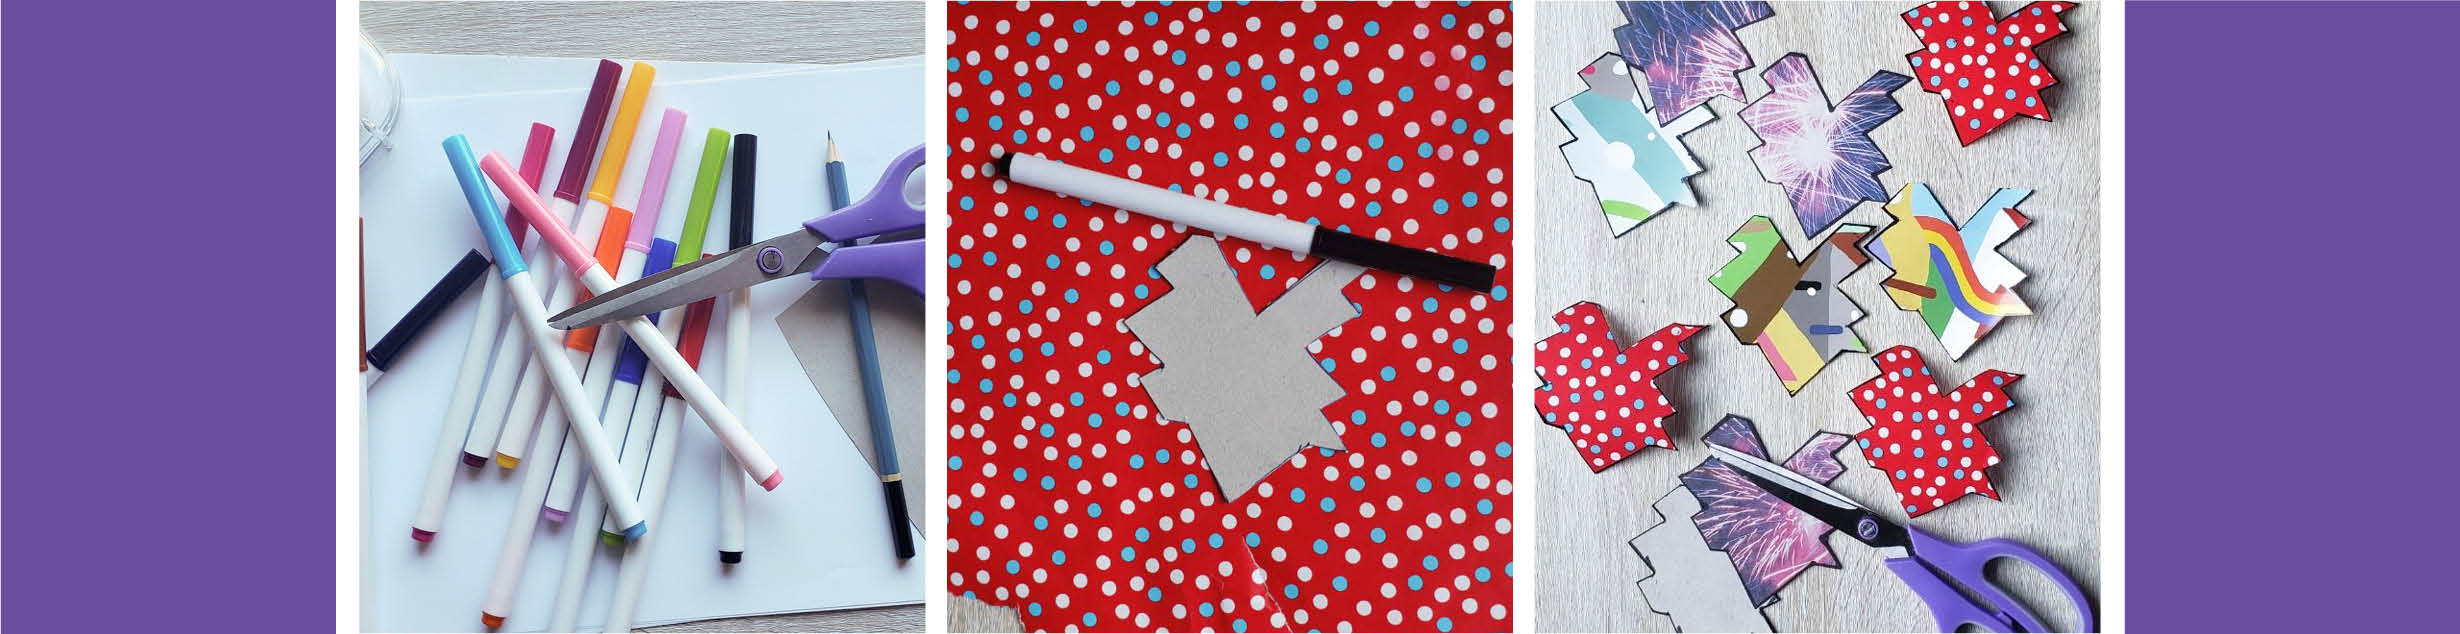
First, gather your supplies:
- Blank paper
- Colorful or patterned paper like construction paper, magazines, newspaper, or old gift wrap
- A pencil or pen
- Tape
- Markers, colored pencils, or crayons
- Scissors
- Ruler
- Some sort of stiff cardstock or paper, like postcards or a cereal box (check the recycling bin!)
Let’s quilt!
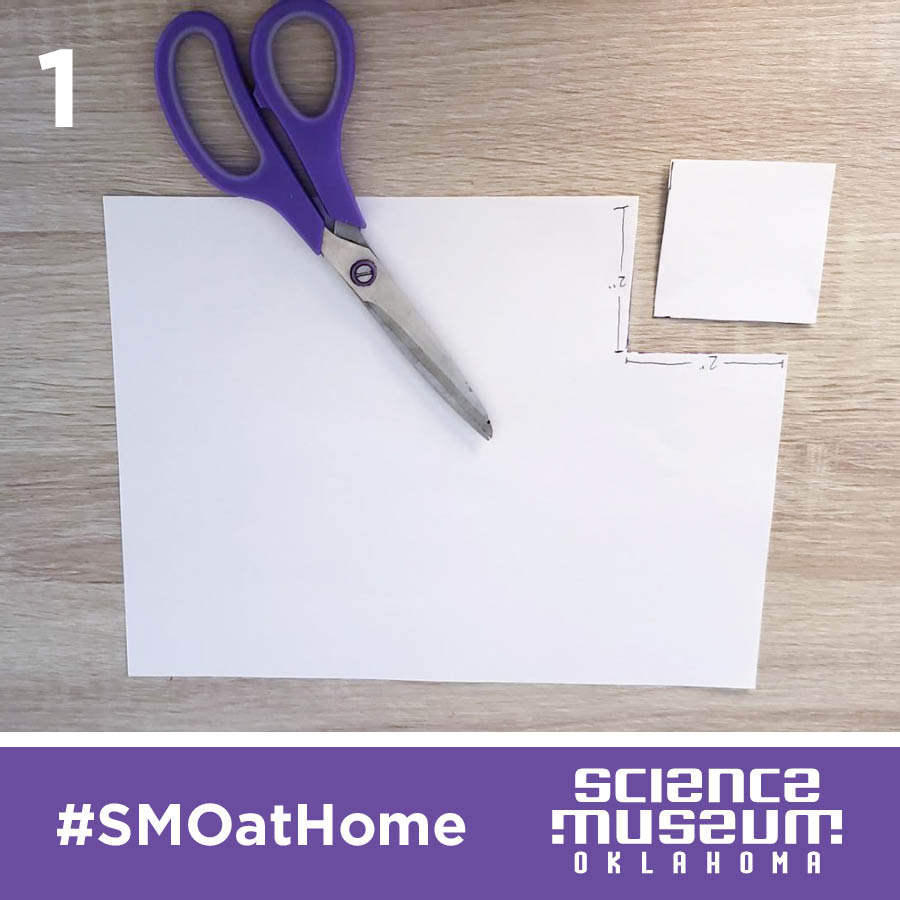
- Cut a piece of your pain paper into a square, 2 inches on each side. This is going to be your template, so use your ruler and make sure it’s a true square.
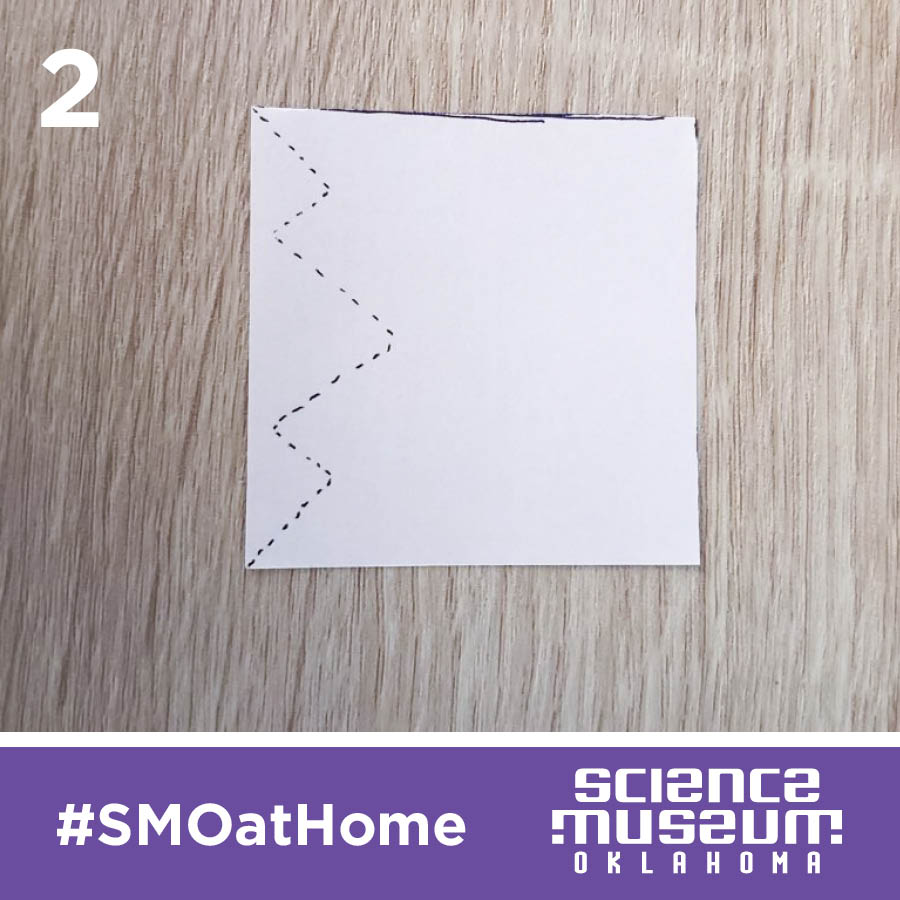
- Start at the bottom left of your square and draw a line. The line can be jagged, squiggly, curvy, or all three! Continue the line until it ends somewhere around the bottom right of the square.
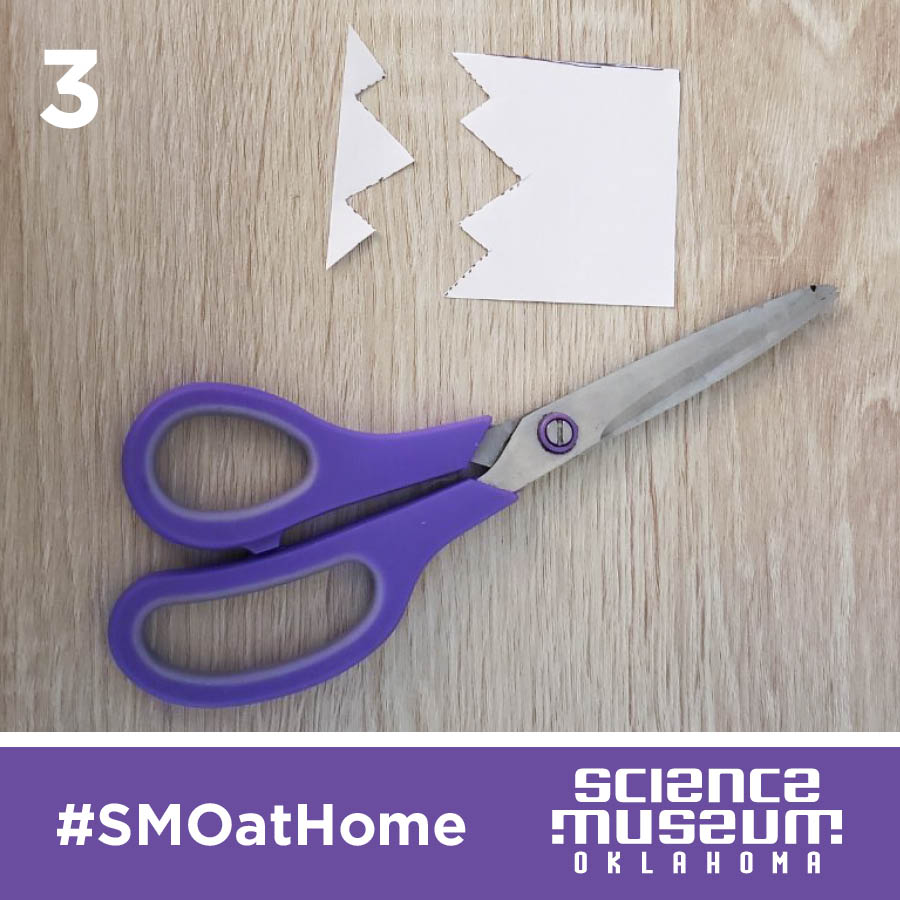
- Cut along the line.
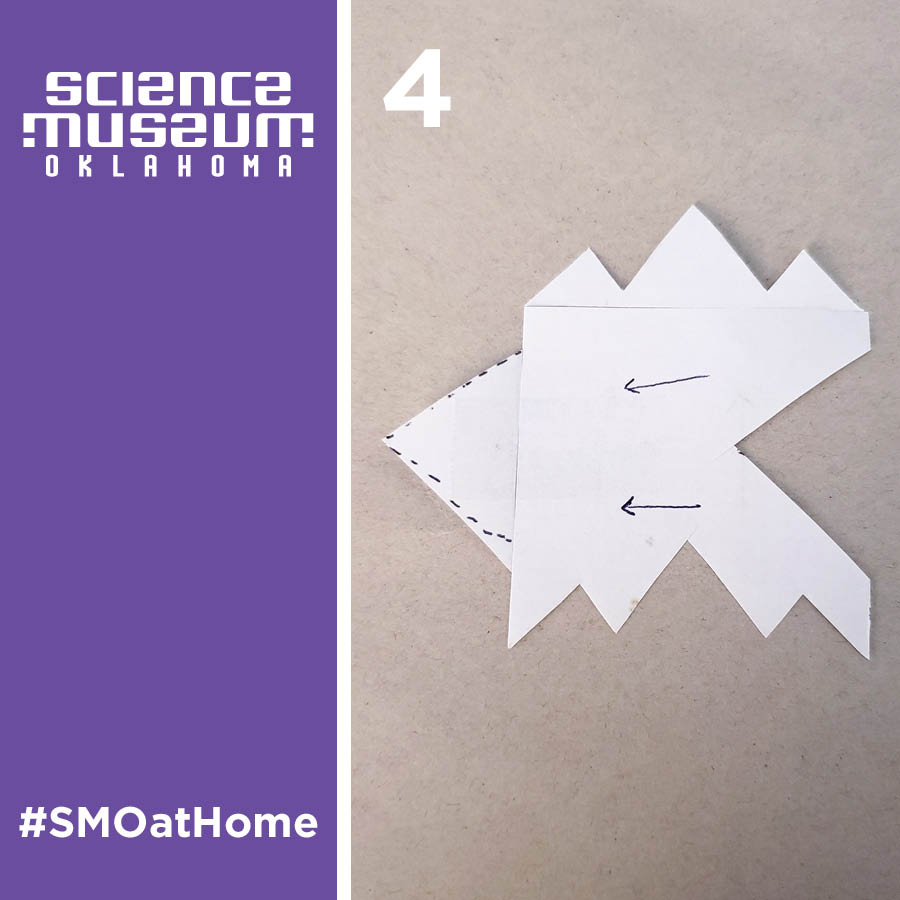
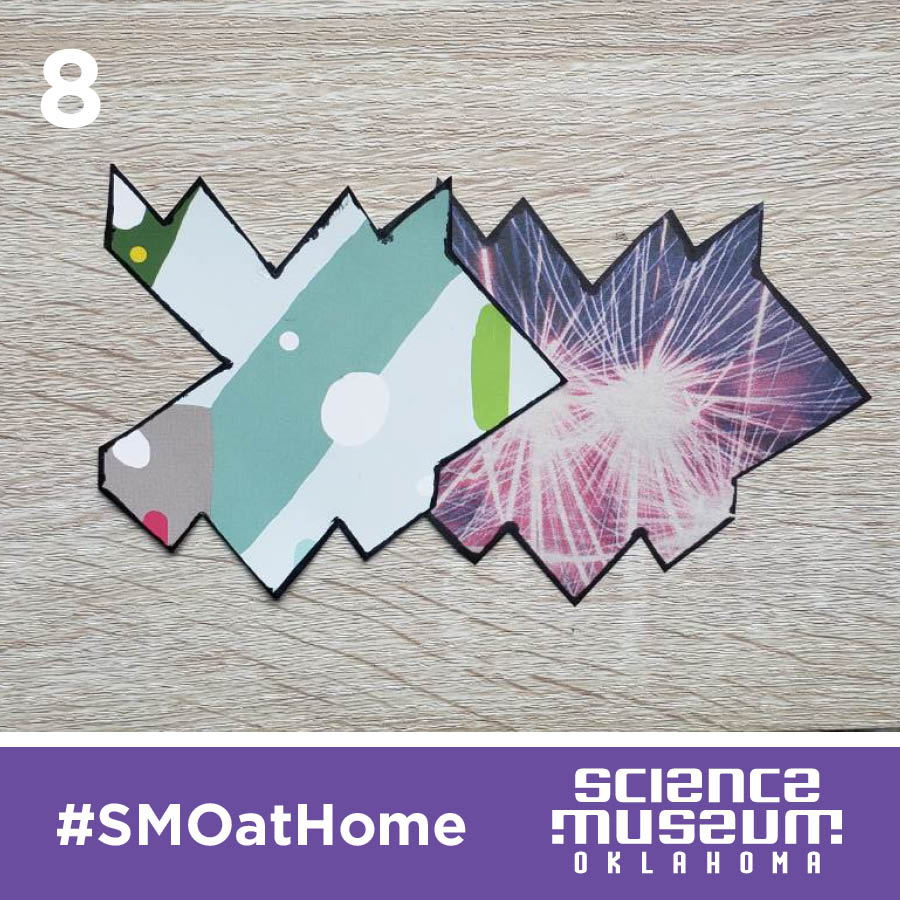
- Slide the bottom portion that you just cut off your square to the top of your square, lining up the straight edges. Tape the straight edge of the shape you cut off to the top edge of your square. The top of your shape and the bottom of your shape should now have the same jagged or curvy line. You could stop here, but please don’t! Repeat steps 3 and 4 but with the right side of your square and make your design even more awesome. Slide the shape to the left side of your square and tape it along the straight edge.
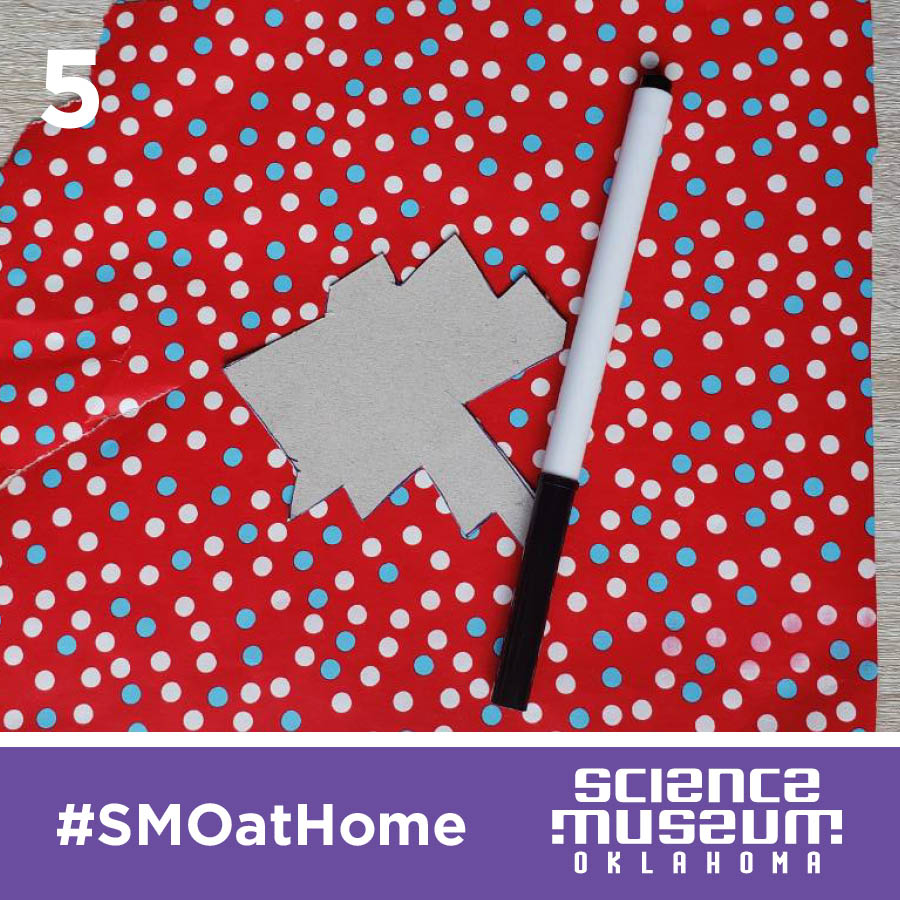
- Place your paper shape on top of your stiff card stock and trace around it with your pen and pencil. Now, cut out your new stencil! This will be sturdier than the paper template, allowing us to trace around it many times. Now trace your stencil onto a piece of your colorful paper.
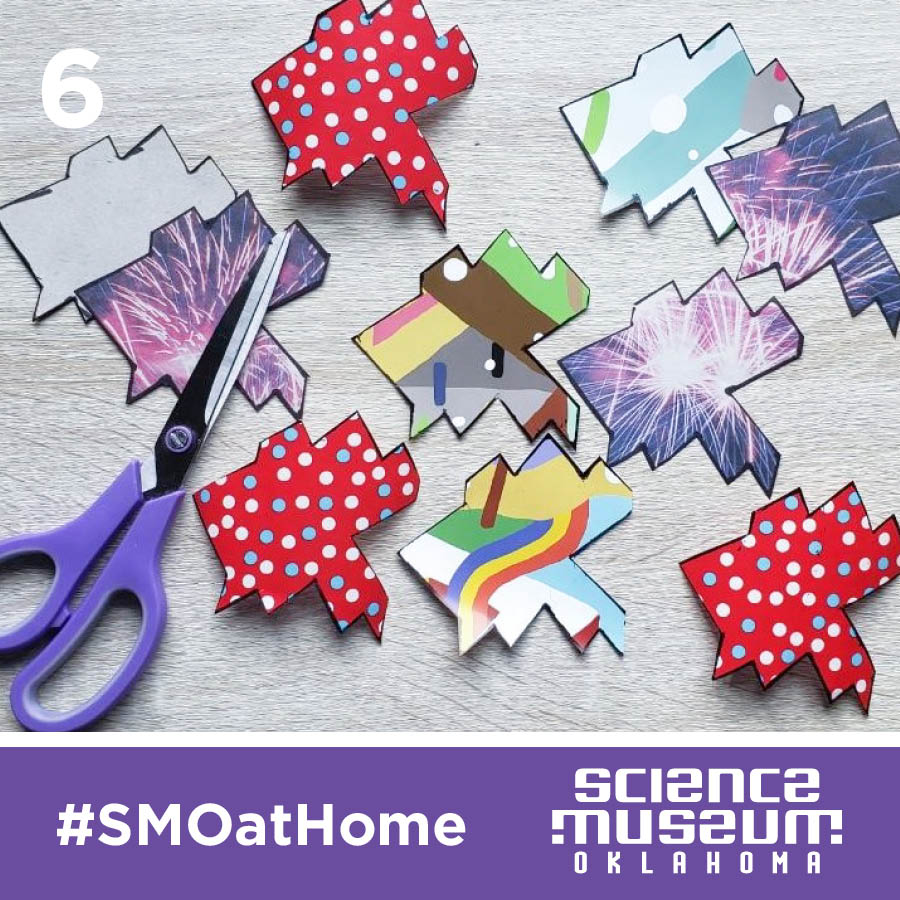
- Cut your shape out and repeat step 5 using as many different papers as you’d like until you have at least eight shapes. You’ll want to cut along the edges carefully so that they match up.
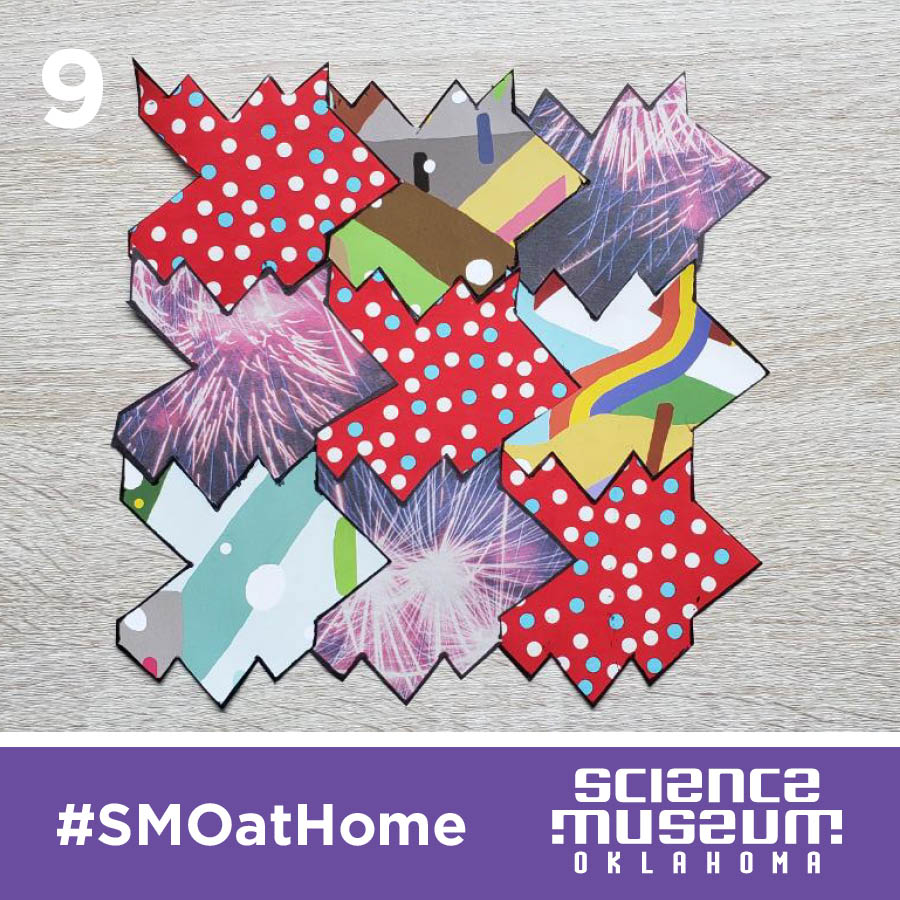
- Test your pieces together. Do they match up? They should fit together at the edges with no gaps or spaces. This is called tiling or tessellating.
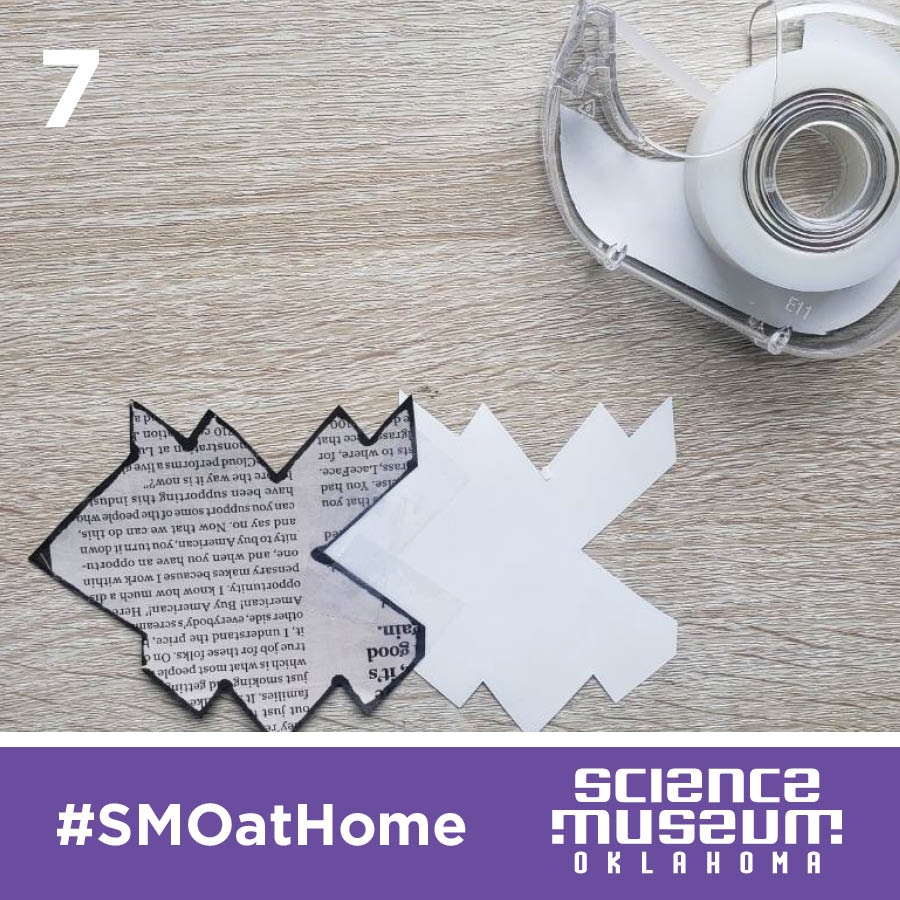
- Piece your quilt together and tape all each of the pieces together. Now you have a new “quilt”!
Don’t have extra magazines or other paper? Just trace your stencil side-by-side on one sheet of paper, then color it in!