Wind Vane
It's hard to think about spring in Oklahoma without thinking of wind! Spring in Oklahoma means wind, and a wind vane is just the tool to tell us the direction of all that wind. This instrument points the direction the weather is coming from, or wind direction. Wind direction indicates where the wind is coming from—not the direction in which it is going.
You can make a wind vane with a few things from around your house.
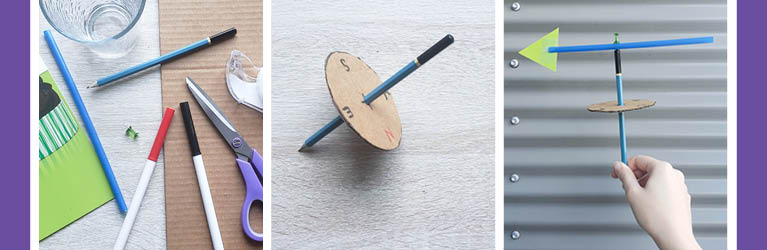
Here’s what you'll need:
- A pencil
- Scissors
- Red and black markers or pens
- Something small and perfectly circular to trace (like a glass or a cup works best)
- Tape
- Cardboard
- Card stock or thick paper
- Thumbtack
- Straw
Here's what to do:
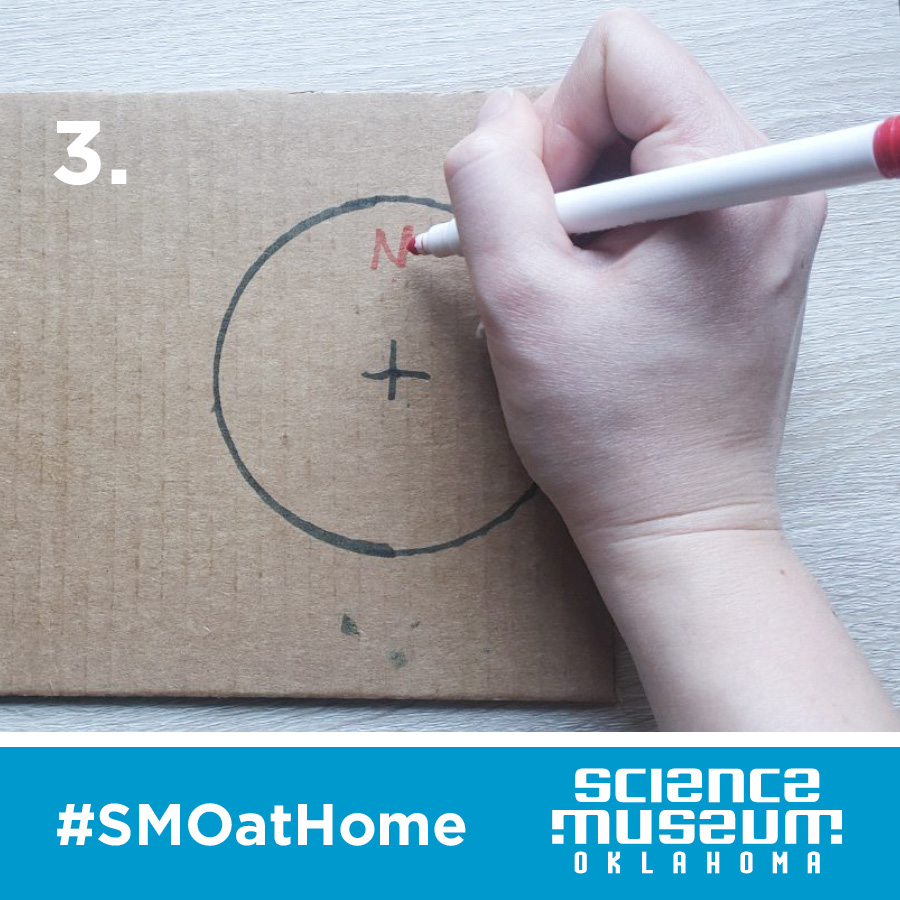
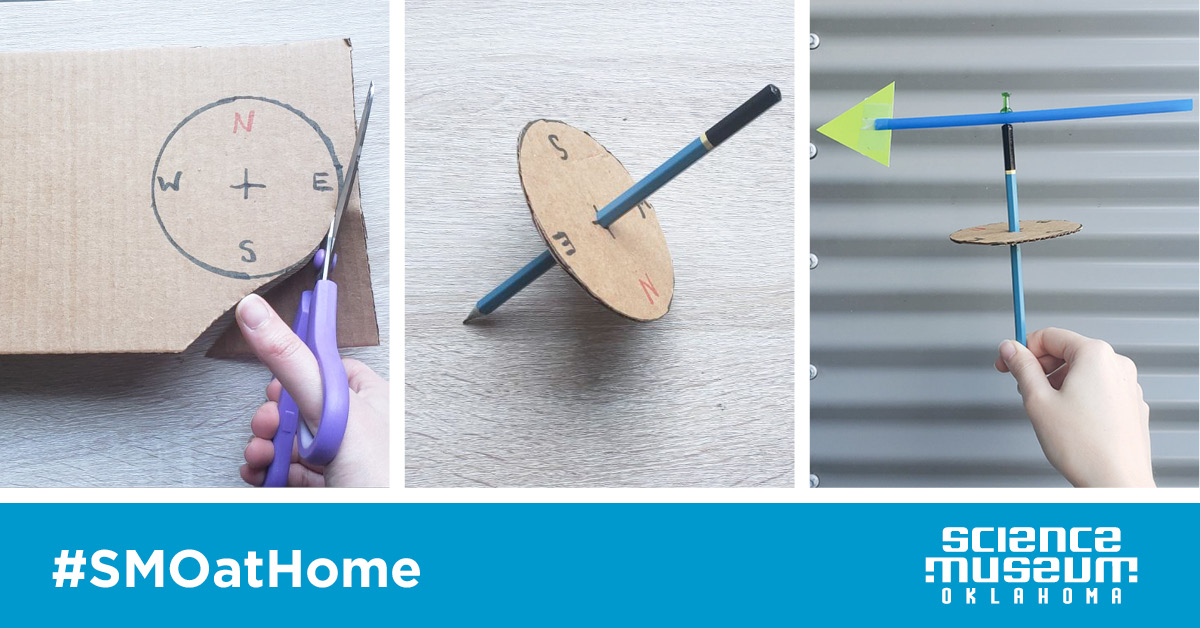
1. Using your black marker, trace around your round object onto your cardboard.
2. Make a mark in roughly the center of your cardboard circle.
3. Draw a plus sign with the point you just marked as the center.
4. Directly above the top of your plus sign, close to the outer edge of your circle, use your red marker to write an "N" for north.
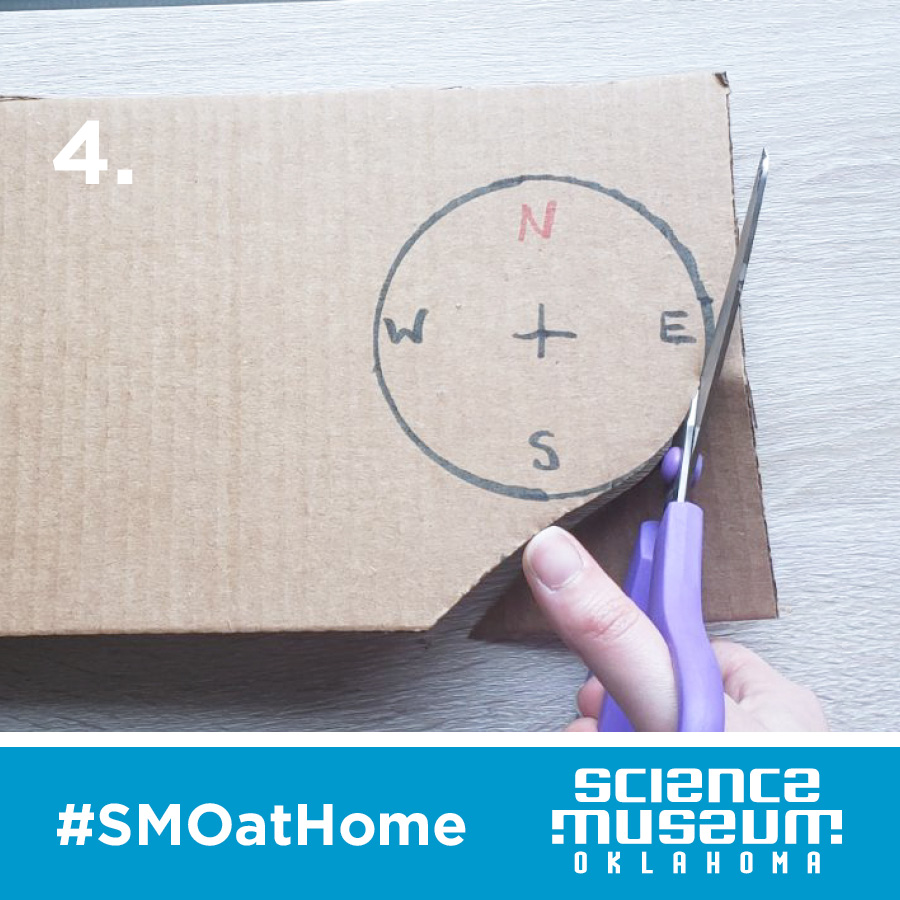
5. To the right of your plus sign, write an "E" for east. Repeat clockwise around the circle with "S" for south and "W" for west.
6. Cut out your circle from the cardboard using the scissors.
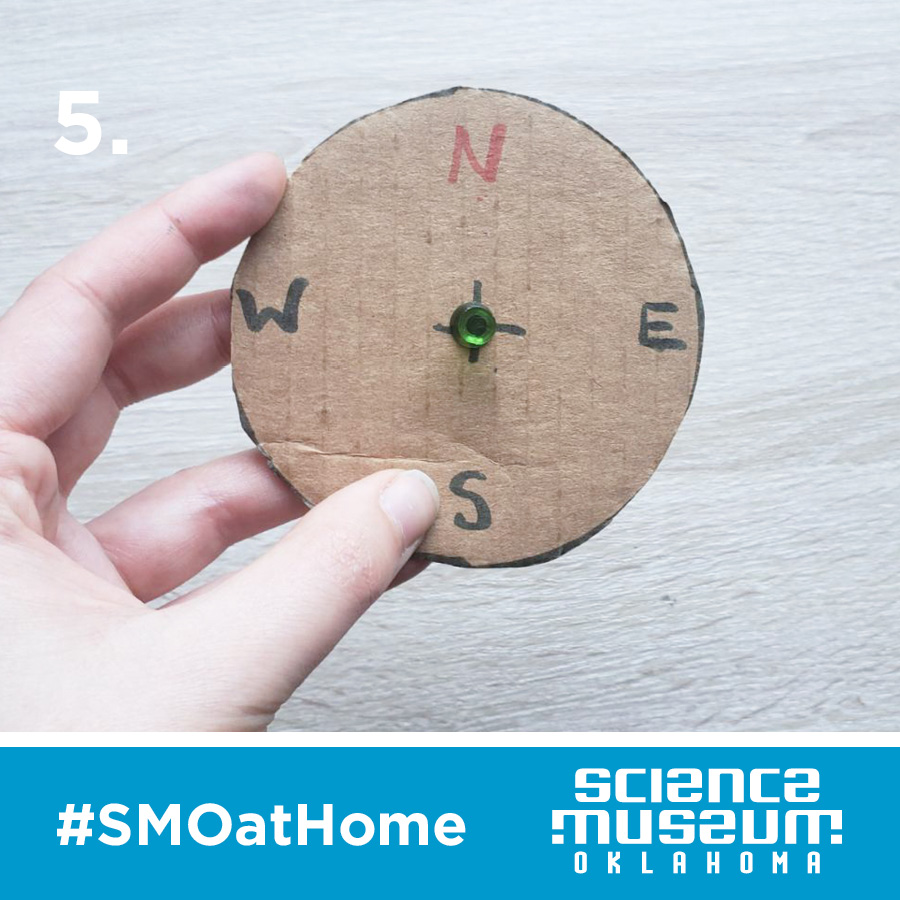
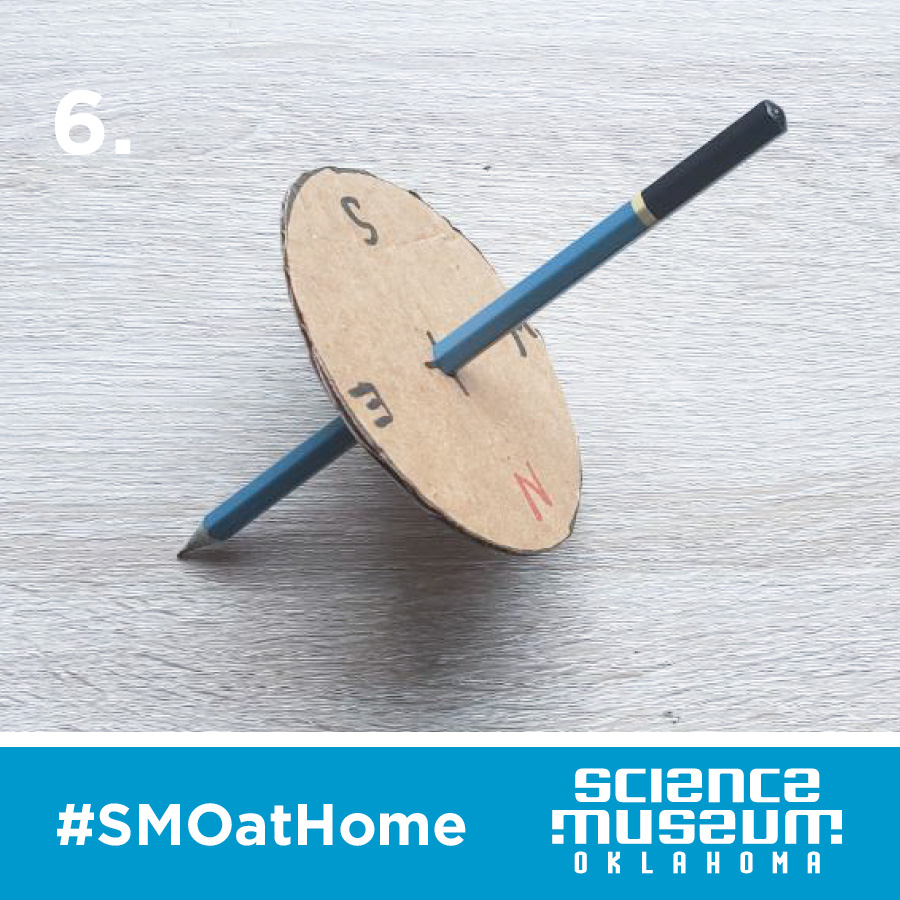
7. Push your thumbtack through the center of your plus sign. This will help you insert your pencil.
8. Take your sharpened pencil and place the point in the hole you just made with the thumbtack. Twist your pencil back and forth as you press it all the way through the center hole of the cardboard.
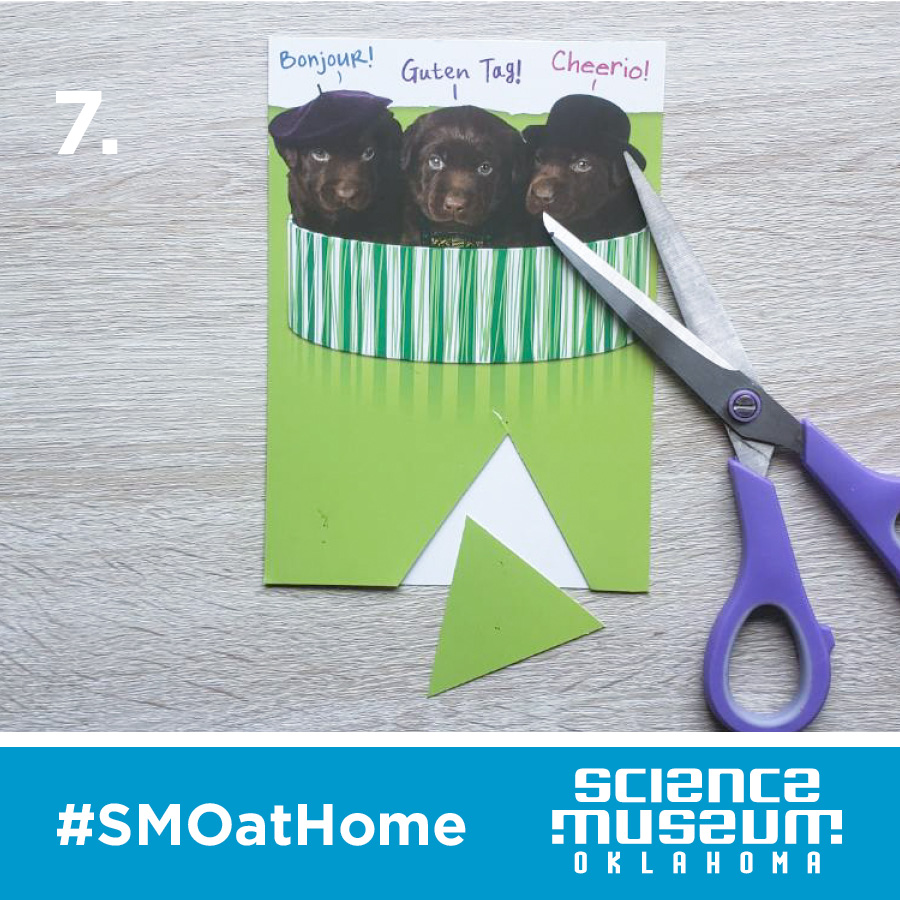
9. Now, let’s make the arrow portion of your weather vane. Cut a triangle out of your card stock. It should be about 1.5 to 2 inches on all sides, but it doesn't have to be exact.
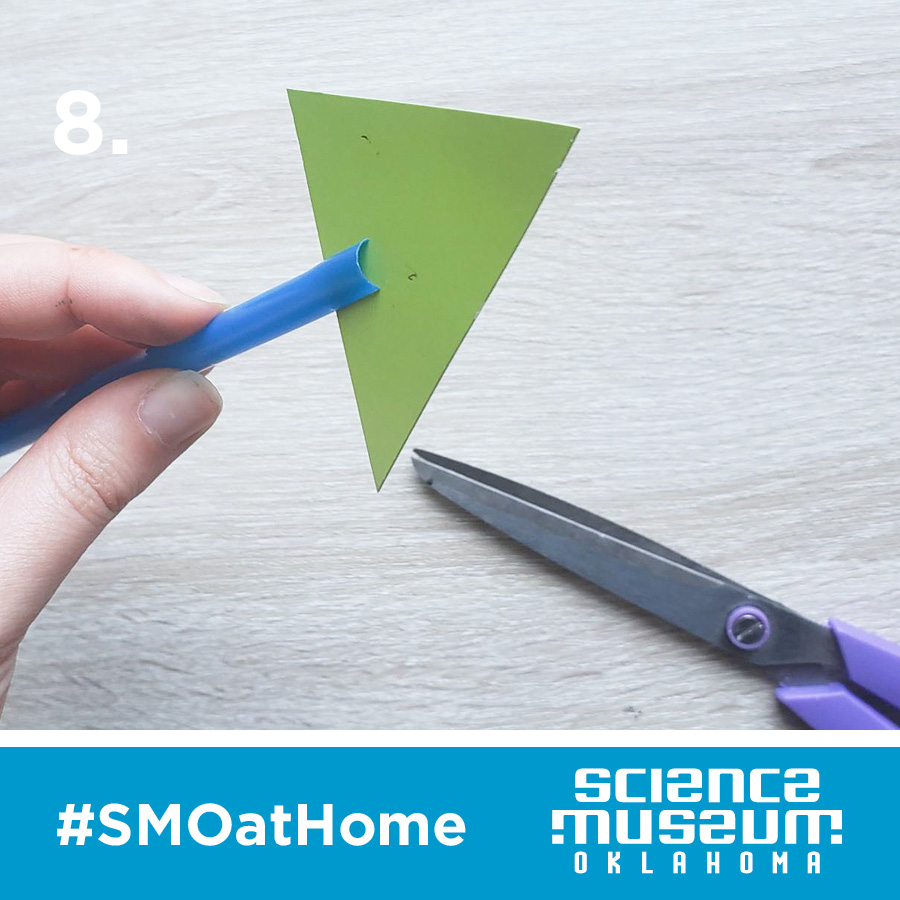
11. Cut 2 small notches in one end of your straw. These notches should be directly across from each other.
12. Insert the center of one side of your triangle into the notches you created in your straw. It should now look like an arrow!
13. Keep your triangle in place by taping both sides of your arrow to the straw.
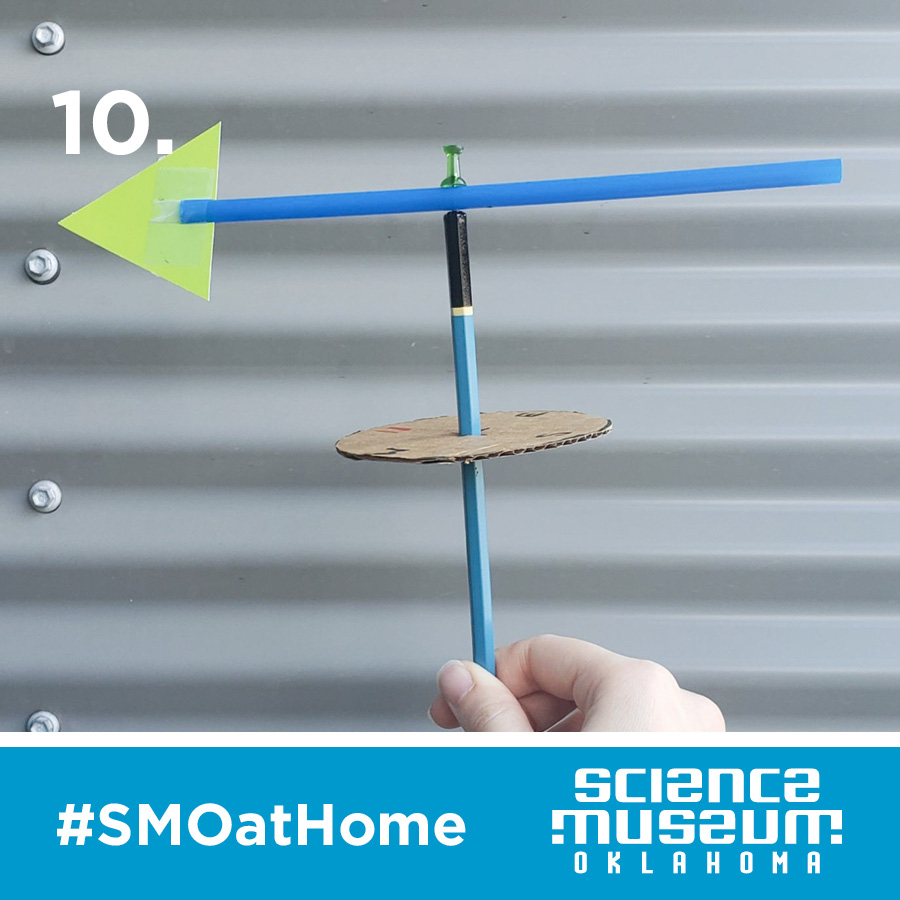
14. It’s time to assemble our weather vane. Take the thumbtack you used earlier and press it all the way through the sides of the straw, parallel to the triangle portion of your arrow.
15. Press the pointed end of your thumbtack into the top center of the eraser end of a pencil. Make sure it stays in place. Rotate the straw back and forth on the thumbtack to ensure the hole is wide enough that it will spin freely.
Now we can test out our weather vane!
Take it outside to an open area. Use a compass, phone app, or ask an adult to locate which direction is north. Line up the red N on your cardboard wheel so it’s pointing north.
Wait for a breeze! Your arrow should rotate to show on the wheel what direction the wind is blowing!