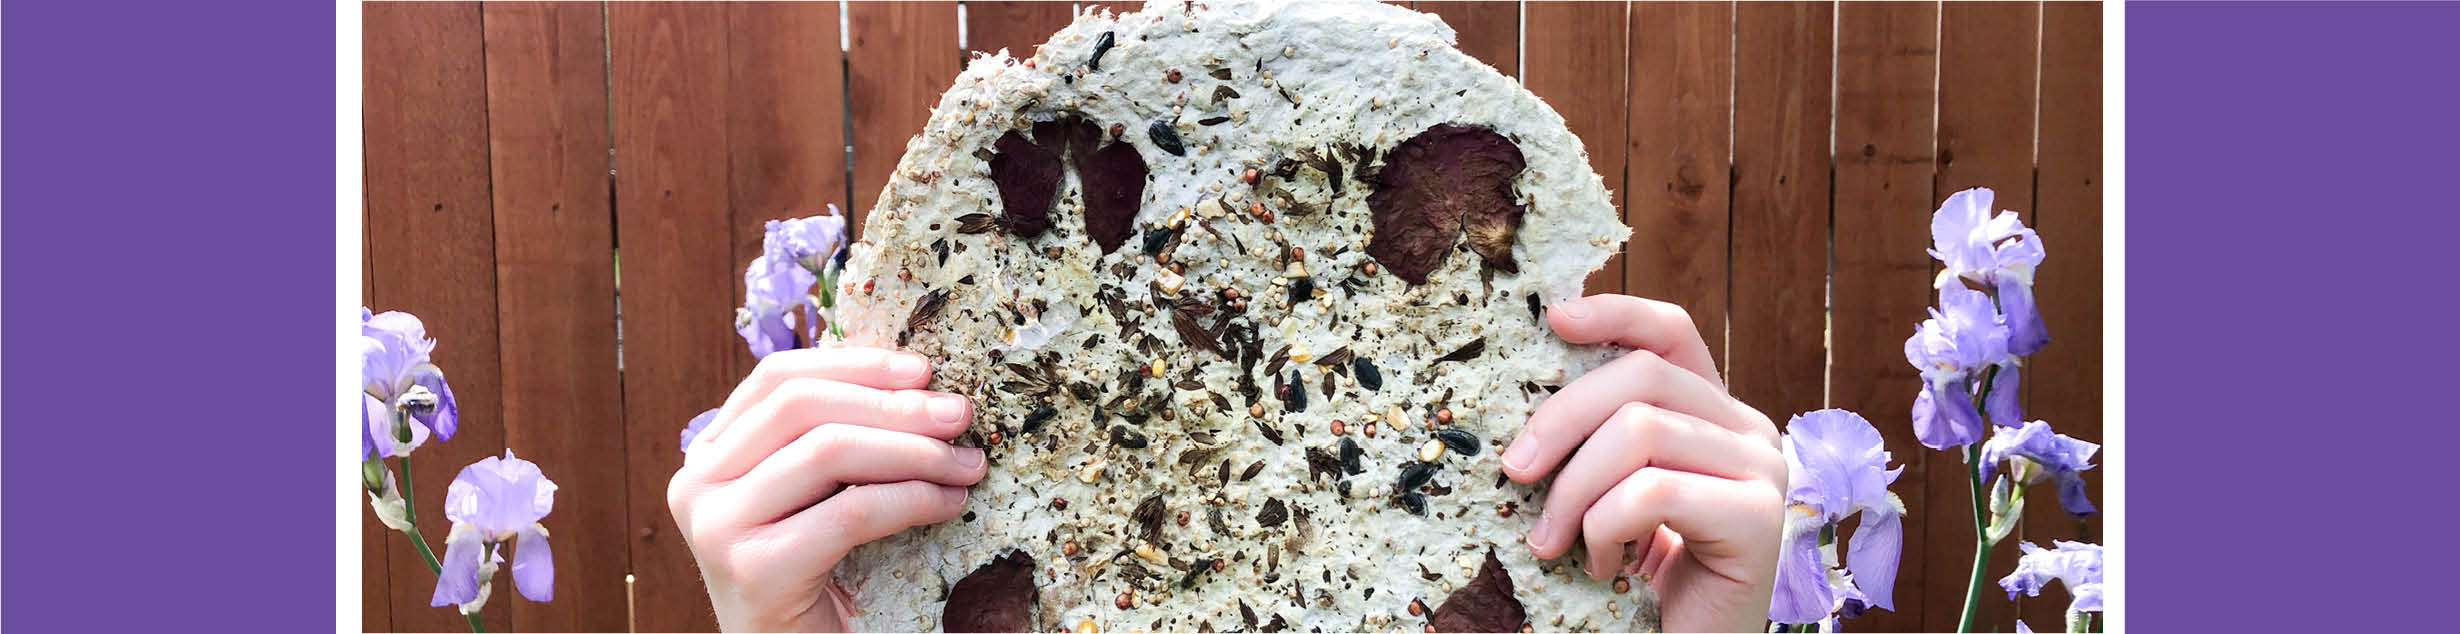
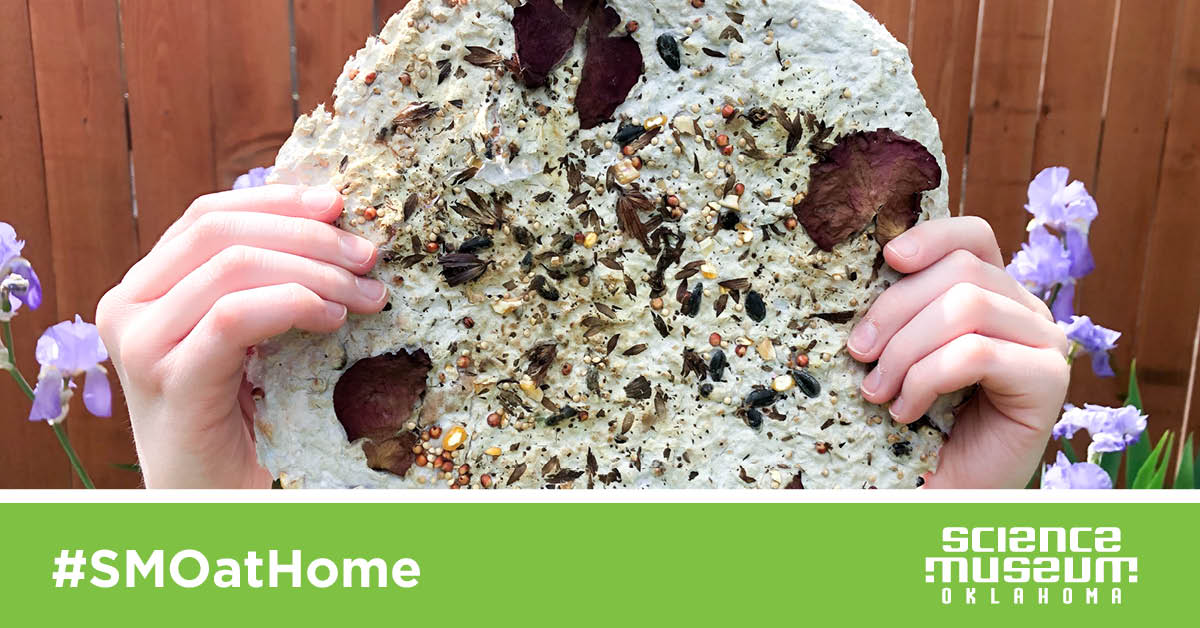
Try This: Make Seed Paper
Lately we’ve all been finding ways to make what we have stretch, often following the three Rs as guidance — reduce, reuse, and recycle. Using the lint from the dryer, old newspapers, dried plant parts, seeds, worn out tights or nylons, and a few other items around the house you can make paper that can be used for greeting cards, art projects or just planted in a flower bed.
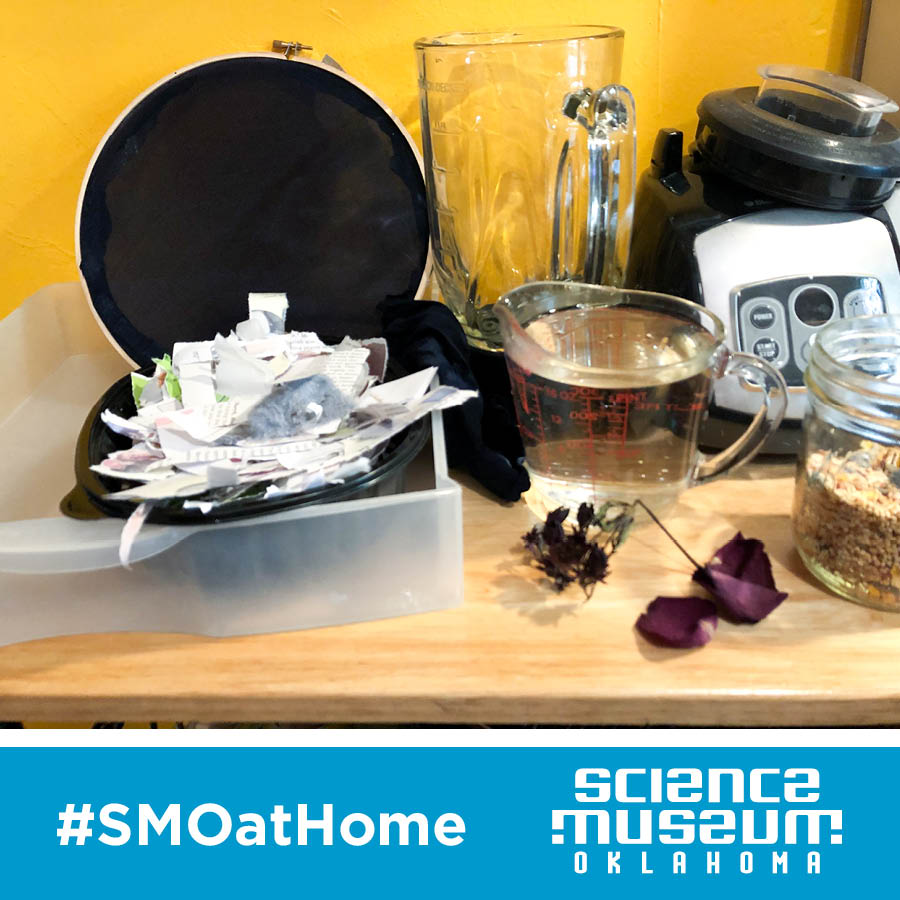
Here’s what you need:
With this project you can just use what you have, changing the recipe and directions to fit what you have available. You need some version of each of these items:
- Something fibrous (material containing fiber) like newspaper, old paper, lint, wood pulp, etc.
- Warm water
- Something to chop the fibrous material into tiny pieces, like a blender
- Something to strain and shape the paper, like a screen of some kind, or old tights or nylons
- Something to hold the screen in place, like embroidery loops, or you can make a frame
- A tub or big bowl to hold the paper and fibrous material mixture
- Towels or a sponge to pat moisture from the creation
- A pizza pan or tray to allow the creation to dry
- Seeds, leaves, flower petals — things that can be gathered to be included in the creation
Here’s what to do:
1. Attach your screen securely to the frame. This can be done easily if an embroidery hoop is available by cutting your screen material larger than the inner hoop by an inch or so and sandwiching the material tightly by putting the outer ring and turning the screw snugly. This will be the mold form for the paper.
2. Cut another piece of screen about the same size as what was used for the mold. This piece of screen will be used as the deckle. In traditional paper making, the deckle typically would have a frame as well, but this is not necessary for the blotting being done to create this paper.
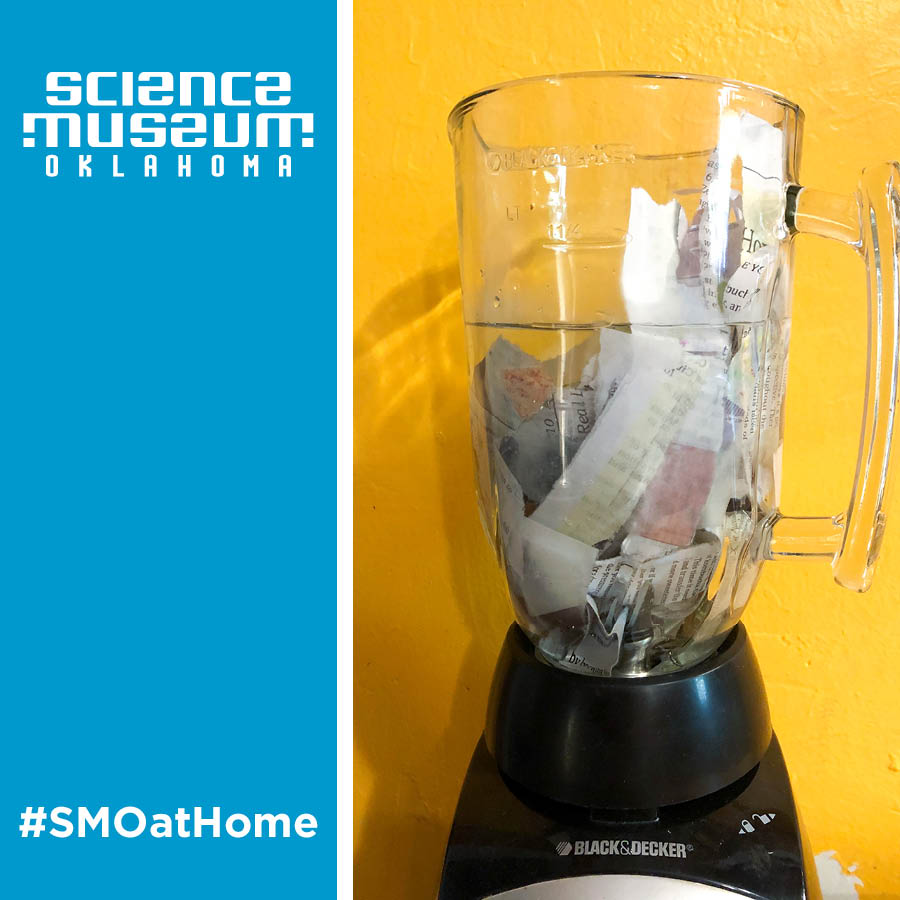
3. Using lint, old newspaper, and scrap pieces of paper that would normally be headed to the recycling bin, loosely fill a blender about half full with fibrous items.
4. Pour warm water into the blender until it is slightly more than half filled with liquid. Turn on the blender to cut and blend to create a pulpy mixture. This slushy mix is called a slurry.
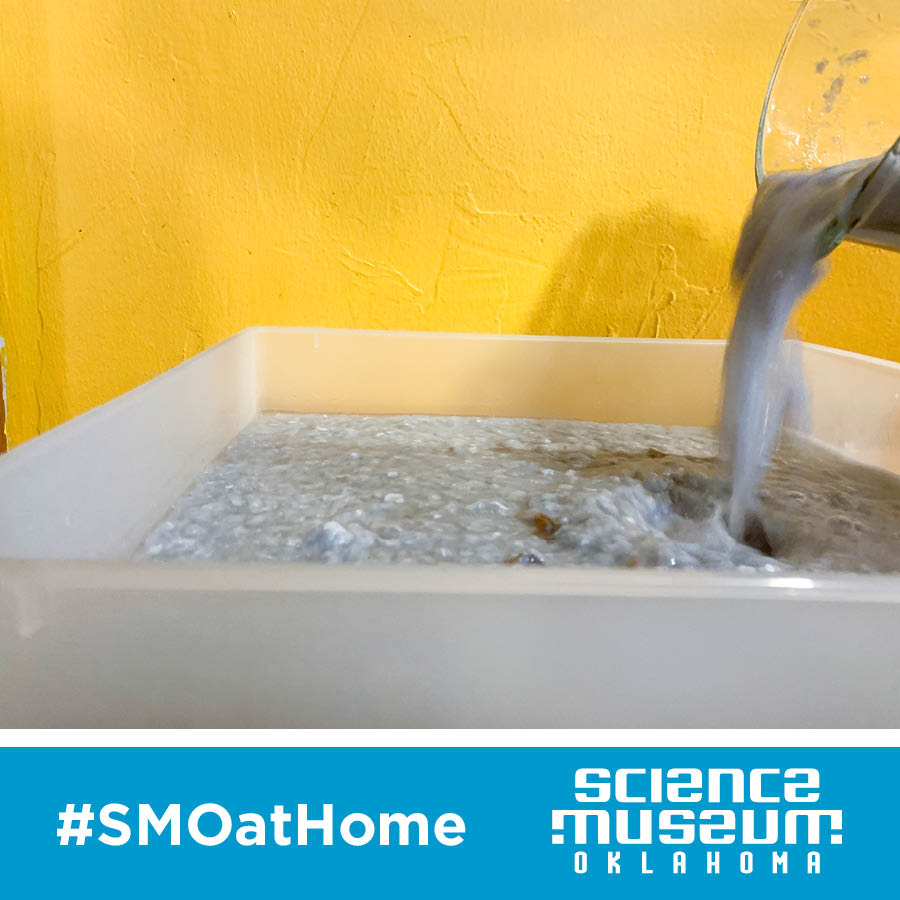
5. Pour the slurry into a tub or bowl that’s large enough for the frame to fit inside. Add warm water until the slurry easily covers the frame of the screen, the mold. Now you can add seeds, dried leaves, and other nature items to the mixture.
6. With the mold in the slurry, scoop the slurry onto the screen until it’s completely covered. Move the mold back and forth until wet fibers, and some seeds, cover the entire screen.
7. With a tray or large plate nearby, lift the mold from the slurry being careful to keep the fibers covering the mold. Put the mold on the tray. Place the extra screen over the slurry and mold. Use a towel or a sponge to pat and gently remove excess water from the paper.
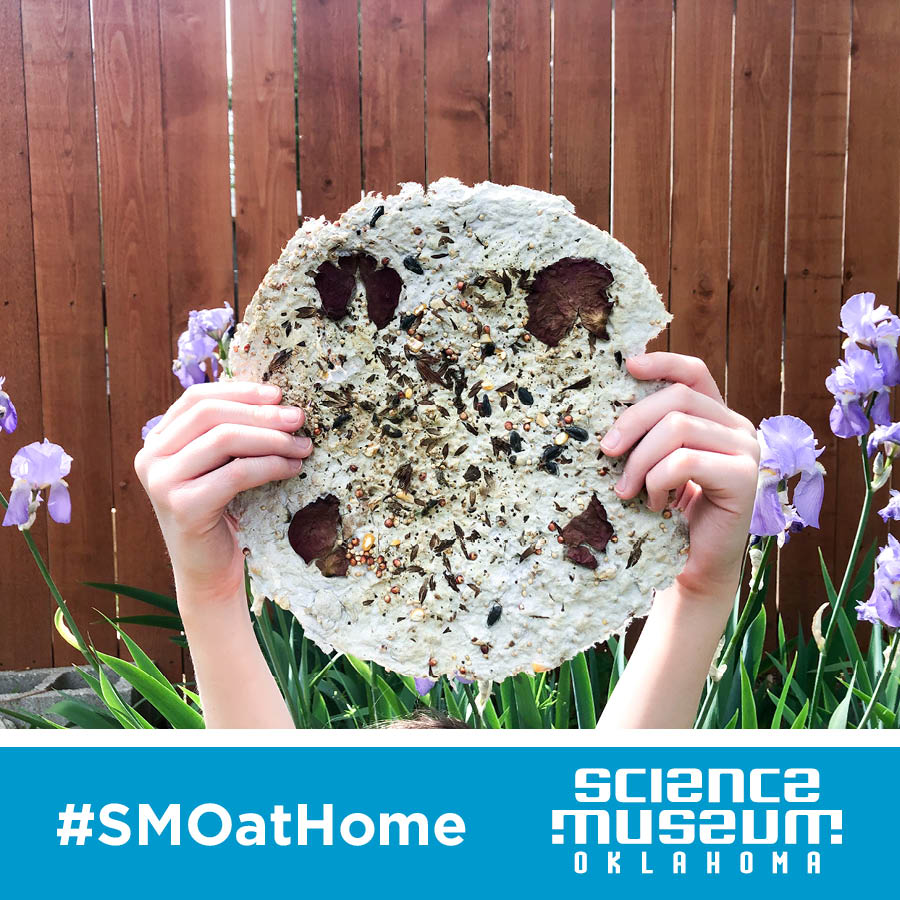
8. Move the mold and tray to an area where it can be left to dry for a day or longer. Once the paper is dry, flip the mold to release the paper.
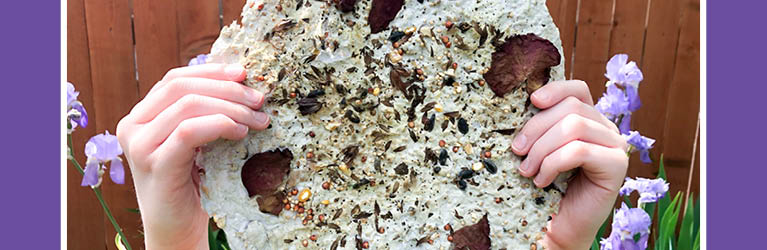
Your paper is now done. It can be written on or cut to make an artwork, a greeting card, or simply planted to grow into new plants!
What’s happening:
Tear a piece of paper. Look at the rough edge closely. The little hair-like structures that are sticking out are the fibers. Plants like trees have a type of fiber called cellulose in their stems. Cellulose is slightly sticky. The cellulose in the paper pieces became sticky again when submerged in the warm water. When the paper was pressed between the mold and the screen (the deckle) and patted to remove the excess water, the fibers got tangled and stuck together again when the paper dried.